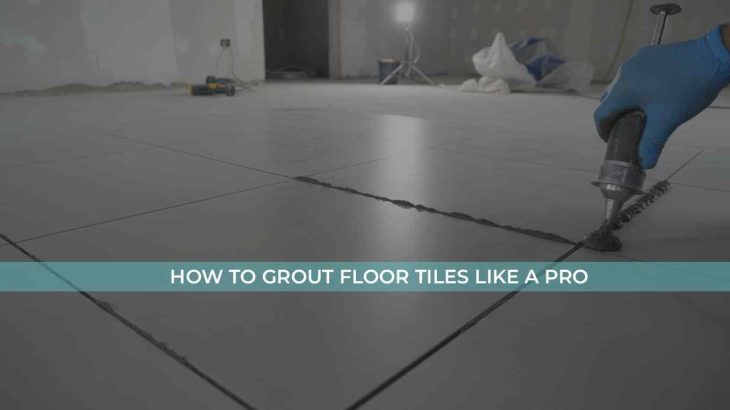
Tile Grout Application: Steps for Clean Joint Lines
Tiles can completely change the look of a home, office, or commercial space. However, the final appearance of a tiled surface depends not only on the tiles but also on the grout application. Proper tile grouting helps create neat, clean, and durable joint lines while improving the overall finish of the installation. Whether you are installing tiles in a bathroom, kitchen, living room, or outdoor area, following the correct grout application process is essential. In this blog, we will explain the simple steps for achieving clean joint lines and a professional-looking finish.
What is Tile Grout?
Tile grout is a material used to fill the gaps between tiles after installation. It helps lock the tiles in place, prevents dirt and moisture from entering the joints, and gives the tiled surface a finished appearance.
Why is Proper Grout Application Important?
Correct grout application offers several benefits:
- Creates clean and uniform joint lines
- Improves the appearance of tiled surfaces
- Prevents water penetration
- Reduces dirt accumulation in joints
- Increases tile durability
- Provides additional support to tiles
Tools Required for Tile Grouting
Before starting the grouting process, gather the following tools:
- Tile grout
- Mixing bucket
- Grout float
- Sponge
- Clean water
- Rubber gloves
- Soft cloth
- Grout scraper (if needed)
Step 1: Allow Tile Adhesive to Cure
Before applying grout, ensure that the tile adhesive has fully cured. Most tile adhesives require at least 24 hours of drying time.
Applying grout too early may cause tile movement and affect the final finish.
Step 2: Clean the Tile Joints
Inspect all tile joints before grouting.
Remove:
- Dust
- Debris
- Excess adhesive
- Loose particles
Clean joint lines allow the grout to fill the gaps properly and create a smooth finish.
Step 3: Prepare the Grout Mixture
Follow the manufacturer's instructions when mixing the grout.
Important tips:
- Use clean water
- Mix slowly to avoid air bubbles
- Achieve a smooth, lump-free consistency
- Do not make the mixture too watery
Step 4: Apply Grout to the Tile Surface
Using a grout float, spread the grout diagonally across the tiles.
Make sure:
- All joints are completely filled
- No empty spaces remain
- Grout reaches the full depth of the joint
Step 5: Remove Excess Grout
After filling the joints, use the grout float to remove excess grout from the tile surface.
Hold the float at a slight angle and move diagonally across the tiles.
This helps prevent grout from being pulled out of the joints.
Step 6: Initial Cleaning
Wait for the grout to begin setting according to the manufacturer's instructions.
Use a damp sponge to gently clean the tile surface.
Important points:
- Do not use excessive water
- Rinse the sponge frequently
- Clean in circular motions
- Avoid disturbing the grout lines
This step helps create smooth and neat joint lines.
Step 7: Shape the Joint Lines
While the grout is still workable, inspect the joints carefully.
Ensure that:
- Joint lines are even
- No gaps are visible
- The grout surface is smooth
Proper shaping improves both appearance and performance.
Step 8: Final Cleaning
Once the grout has partially cured, a light grout haze may appear on the tile surface.
Use a clean, dry cloth or microfiber cloth to remove the haze.
This will restore the shine of the tiles and provide a clean finish.
Step 9: Allow Proper Curing
Grout requires sufficient curing time to achieve maximum strength.
Avoid:
- Heavy foot traffic
- Water exposure
- Cleaning with chemicals
Follow the recommended curing period provided by the grout manufacturer.
Common Mistakes to Avoid
Many installation problems occur because of simple mistakes.
Avoid these common errors:
Using Too Much Water
Excess water can weaken the grout and cause discoloration.
Not Cleaning Joints Before Grouting
Dirty joints can reduce grout bonding and lead to poor results.
Grouting Too Early
Always wait until the tile adhesive has completely cured.
Leaving Excess Grout on Tiles
Dried grout residue can be difficult to remove later.
Skipping Final Cleaning
Proper cleaning ensures a professional and attractive finish.
Tips for Clean and Professional Joint Lines
For the best results:
- Use high-quality grout products
- Follow mixing instructions carefully
- Work in small sections
- Clean excess grout immediately
- Use clean water during application
- Allow proper curing time
- Select a grout color that complements the tiles
These simple practices can significantly improve the final appearance of your tile installation.
Benefits of Clean Joint Lines
Well-finished grout joints offer several advantages:
- Better visual appeal
- Improved tile durability
- Easier maintenance
- Enhanced water resistance
- Long-lasting performance
- Professional-looking installation
Clean joint lines can make even simple tiles look elegant and premium.
Conclusion
Tile grout application is a crucial step in any tiling project. Clean and properly filled joint lines not only improve the appearance of the surface but also increase its strength and durability. By following the correct preparation, application, cleaning, and curing steps, you can achieve neat and professional results.